22 March 2017

Sewing Space Tours... Abi's Pretty and Practical sewing space!

Sewing Space Tours...Abi's Sewing Space!

Hello! Lexy here with the latest in our Sewing Space Tours series, where we are offered an insight into a reader's sewing area. Today, the lovely Abi is showing us around her slice of pastel heaven. Over to Abi for more!

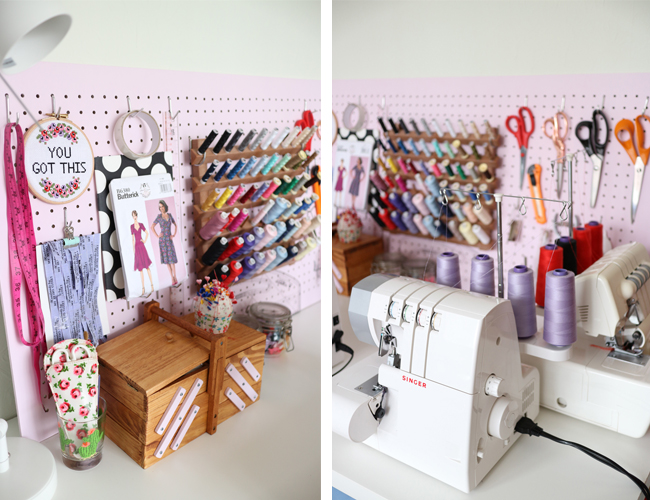
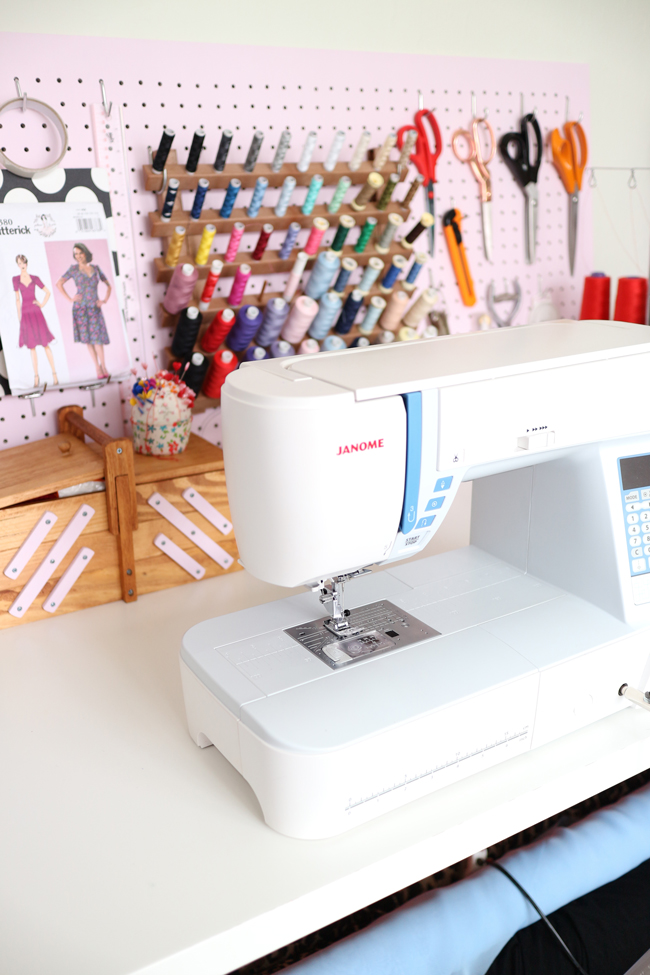
Hello! I'm Abi and you can find me blogging about my retro dress making over at The Crafty Pinup. Welcome to my sewing space, which is also where I also run My Retro Closet, my vintage inspired handmade lingerie and nightwear business. I live in Shrewsbury, a pretty Tudor town near Wales, with my family. I work from home in what was once a dining room, and is now my very own little studio. Along with my sewing space, I have a separate office in the house for all the boring admin and non-creative computer things, which isn't very exciting!

Sewing Space Tours...Abi's Sewing Space!

9 March 2017

Sewing Zadie: Sew the Side Seams and Hems

Sewing Zadie - Side seams and hems - Tilly and the Buttons

Last steps of the Zadie sewalong! Let’s get the side seams sewn up and the dress hemmed.

Catching up? Order your Zadie sewing pattern and catch up on the sewalong!

Sewing Zadie - Side seams and hems - Tilly and the Buttons

Let’s get going. Fold the front dress over the back dress, right sides together.

This next bit is probably the second fiddliest part of making the dress – sorry! The aim of the game is to create a neat, triangular point where the diagonal skirt seams meet at the side seams. Line up the diagonal pocket opening seam with the diagonal back skirt seam so they’re exactly on top of each other.

Thread a needle and tack (baste) them together by hand for about 5cm (2in) up from the side seams. Don’t tack the front side panel – you’re just tacking the pocket facing, front skirt and back skirts together.

6 March 2017

Sewing Zadie: Attach the Neckband

Sewing Zadie - How to attach a jersey neckband - Tilly and the Buttons

Making the Zadie dress? In this post I’m going to show you how to attach the neckband.

Sewing Zadie - How to attach a jersey neckband - Tilly and the Buttons

Start by pinning together the short ends of the neckband, right sides together. Stitch them together with a narrow zigzag (1-1.5mm wide x 2.2-2.5mm long) to form a loop. (You can do this bit on an overlocker or serger, but it’s a bit less lumpy if you use a regular sewing machine.)

Sewing Zadie - How to attach a jersey neckband - Tilly and the Buttons

Trim the seam allowances and press them open. Fold the neckband in half lengthways, wrong sides together, and press.

2 March 2017

Sewing Zadie: Attach the Sleeves

Sewing Zadie - How to attach raglan sleeves - Tilly and the Buttons

Making the Zadie dress? In this post, I’m going to show you how to attach the sleeves. We’ll start with the cap sleeves – scroll about half way down the page to the long or three-quarter length sleeve steps if you’re making those instead.

Catching up? Order your Zadie sewing pattern and catch up on the sewalong!

For the cap sleeve version:

Sewing Zadie - How to attach raglan sleeves - Tilly and the Buttons

If you’re using an overlocker or serger, finish the bottom of the cap sleeve, and finish the underarm edge at the top of each front side panel and back side panel. If you don’t have an overlocker, don’t worry – just leave the edges raw.

Fold each sleeve hem under 15mm (5/8in), wrong sides together, press and pin in place. Topstitch with a wide and even zigzag (2 x 2mm or 2.5 x 2.5mm), 10mm (3/8in) from the edge.

Sewing Zadie - How to attach raglan sleeves - Tilly and the Buttons